

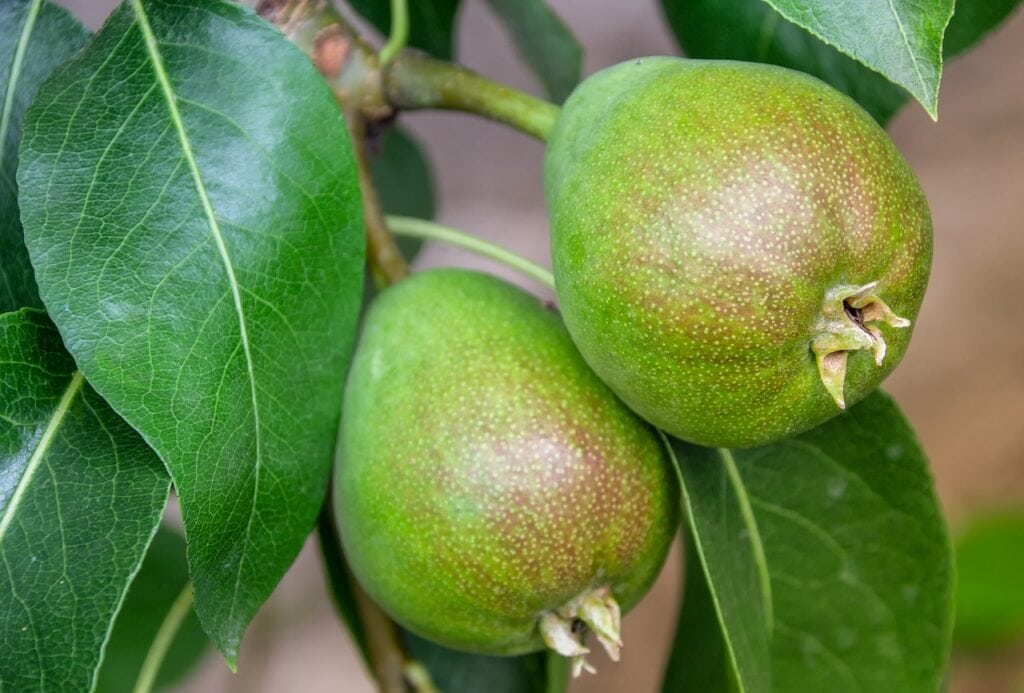
The task of pruning pears can be performed at any time of the year, but the best time to do it is in the winter. The best time to do this is in the winter, when many of the illnesses and insects that could harm your tree would have died off due to the cold weather.
Because sick or dead branches are more likely to become infected than living wood, it is imperative that they be cut away cleanly when they are removed. You also need to determine which branches will give better fruit production before removing them from the tree altogether. This process should always begin by looking for over-cropped areas on your tree where there are too many branches competing for nutrients and light. Before removing any branches from the tree, you should make this determination. See our list of available arborist services Perth for your tree removal solutions.
Pruning is an excellent approach to encourage healthier growth in your pear trees and can also help you get rid of some of the extra fruit that has accumulated on them. Before you begin hacking away at your tree, however, it is in your best interest to get the advice of a professional because there are many distinct approaches to this task.
How To Top A Fruitless Pear Tree
It was an effective strategy for the Queen of Hearts in "Alice in Wonderland" to say "Off with his head," but it is not an attitude that should be taken with a gardener. Pear trees can be trained to various growth tendencies when they are young, including topping the pear whip after planting. However, the topmost crown of a mature tree should never be lopped off or pruned in any way. The production of pears can also not be stimulated by topping a pear tree. There are other, more humane approaches that can be taken to bring the size of your overgrown pear down.
Pear Tree Training
The majority of gardeners who plant pear trees do so with the intention of eventually harvesting fruit for their pantries. As a result, in order to make the most of the anticipated harvest, they prune the pear tree in such a way as to guarantee that its branches are both strong enough to support the weight of the fruit and also low enough to be easily accessible.
It is common practise to train young pear trees to a central leader. This implies that the gardener will let one central upright stem and different strong lateral branches to develop while cutting all of the other branches. A pear tree that is allowed to develop to its full potential can reach a height of forty feet. Cutting back such a tree requires a significant amount of time and effort.
Topping
Topping a tree, also known as removing its crown, is one of the most expedient options that springs to mind when a tree has outgrown its current location. Topping a tree, on the other hand, is not a good idea for either the tree or the gardener. When huge, upright branches are chopped between nodes, the resulting gaping wounds in the tree are more likely to become infected or rot.
Each cut spurs the formation of multiple epicormic sprouts that look unattractive and are only weakly linked to the stem. This occurs even if the cut branches do not die back completely after being severed. In order to prevent the tree from becoming overrun with sprouts, the gardener will need to prune the tree on a regular basis.
Reducing Tree Size
Crown-reduction Pruning is a more effective method for reducing the height of a tree than other methods, although it too should be considered a measure of last resort. Each branch that grows in an upward direction is lopped off right above a large lateral branch that has a diameter that is at least one-third as large as the diameter of the branch that is being cut.
This kind of tree trimming results in a more natural appearance, extends the amount of time that passes in between trimmings, and minimises the amount of stress that the tree is under. When the tree is still dormant in the early spring, you should perform any crown-reduction trimming that has to be done. Then, if the height of the pear is not manageable, make a strategy to gradually cut it down to a height that is manageable over a period of at least three years.
Failure To Fruit
Pear trees that are not pruned on a regular basis have a lower chance of producing fruit than pear trees that are pruned regularly, although there are many other reasons why a pear tree might not produce fruit. For instance, several pear cultivars grow well in the plant hardiness zones 5 through 9 recommended by the Department of Agriculture, but that does not indicate that your tree will.
If your pear tree is native to a cooler zone, it is possible that it will not receive sufficient winter chill hours to produce fruit. Perhaps most crucial, pear trees require cross-fertilisation to fruit; this implies that another pear tree must be planted reasonably close by so that its pollen can fertilise your pear's blossoms.
Gardening
Pear trees are some of the most trouble-free fruit trees to cultivate, and their fruit is delicious. Therefore, why not give some thought to cultivating some pear trees in your garden? Continue reading for our step-by-step instruction guide.
Buying Pear Trees
It is recommended that you get your pear trees from a nursery that is located in your immediate area. However, these trees are already a couple of years old, and once they have been planted in your yard, it will be another two to four years before they begin producing fruit. It is also possible to transplant pear trees onto other types of fruit plants.
Planting Pear Trees
When growing pears, it is important to select an area that gets enough of sun. Be aware that in order for pears to successfully bear fruit, the summers must be quite warm and the winters must be cool to chilly. Create a large hole and fill it with as much decomposed compost or blood and bone as you can.
Check to see that the compost or blood and bone are thoroughly incorporated into the soil. When you plant your tree, make sure to keep it in the same container it arrived in if it was grown on peat moss. Simply cutting a few incisions into the ground will facilitate the plant's roots expanding into the surrounding soil. Before you plant it, take it out of the container it came in, whether it was a standard pot or a bag. Pear trees with bare roots can be put straight into the ground.
When working with bare-rooted pear trees, you need to make sure that the grafting union is around 8 to 10 centimetres above the ground. Dig around the roots of the plant until you reach the highest level of dirt that it had in the container, and then properly water it.
Caring For Pear Trees
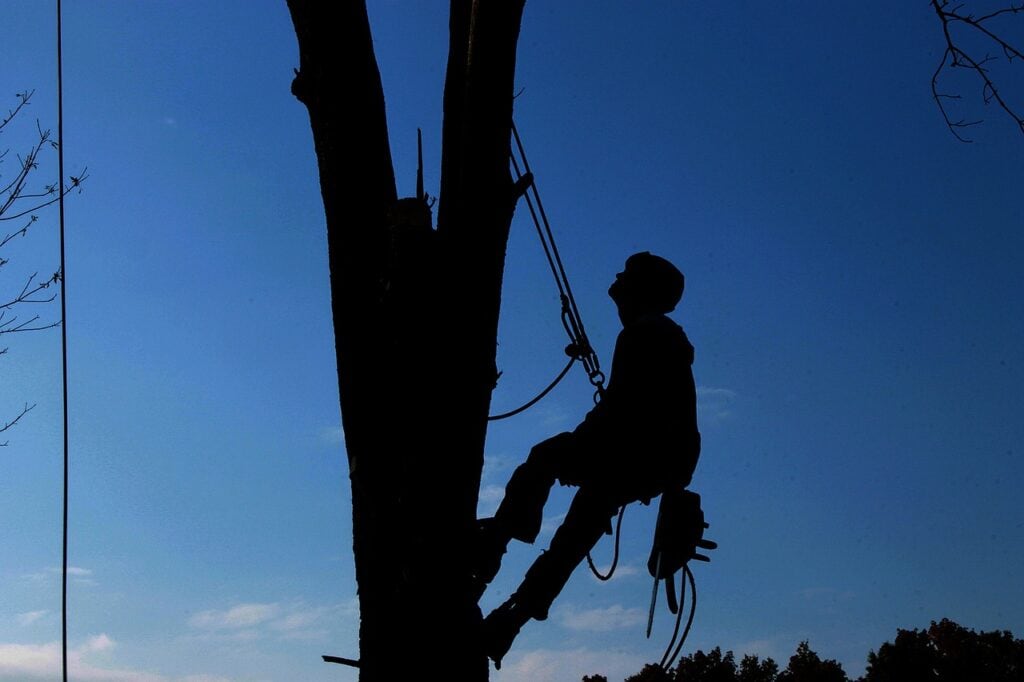
When the tree is planted, it is a good idea to use a post for the first year since strong winds can force the young tree to bend and develop at an angle. This can be prevented by using a stake. After the tree has been established in its new location, provide it with a balanced fertiliser or a fruit tree fertiliser that has been carefully designed. As soon as the tree begins to bear fruit, you should pick out any of the pears that have been chewed on by pests.
Pear Trees, Pests And Diseases
Pear trees, in comparison to many other kinds of fruit trees, have a lower risk of being attacked by many kinds of insects and diseases. Before the blossom buds on a fruit tree bloom, it is best to eliminate insects and protect the tree from disease by applying a spray or oil specifically developed for fruit trees. Before the pear flowers, spray the plant with Bordeaux or lime sulphur if you have a problem with pear scabs, also known as black spot. The codling moth is the most common type of insect that attacks pears.
Pruning Pear Trees
When the pear tree has reached maturity, it will be necessary to prune it. More fruit will develop if the plant is pruned on a regular basis. Every year, in the early spring, before the new growth begins, pear trees should have their branches clipped. Eliminate any branches that are diseased or dead.
You will need to prune the tree in order to make it possible to climb a ladder and reach the fruit. You should also cut portions of the tree that are quite bushy since this will allow more sunlight and air to enter the tree, which will improve the tree's overall health and growth. You should also prune in order to retain the shape. However, take care not to prune the plant too heavily, since this may cause the formation of strong vertical shoots that are not fruitful.
Harvesting Pears
Pluck the pears when they have achieved their maximum size, have not yet softened much, and the skin on the pear has lost its dark green hue. Once they have been chosen, place them in a plastic bag with holes in it and place it in the refrigerator. When you need them, remove them, and then keep them in the kitchen for a few days, until the flesh has softened to the desired consistency. In this manner, you will be able to fully appreciate the flavour of the pears.
How To Prune Old, Neglected Pear Trees
In the first year, if the tree is too tall to pick fruit readily, you will need to prune it down to a more manageable height. It is permissible to bring the height down by one third or more. We cut eight feet off the height of this pear tree, which was once about twenty feet tall. A little more than a third in this instance, but when you have taller trees, you may afford to be more brutal. Worrying about tree removal? Then, Tree Amigos tree removal solution is the right choice!
During the first year of the severe pruning, remove any dead wood as well as any limbs that are overlapping one other and preventing light and air from entering the tree's core. You should also prune the main side branches so that they are in proportion and balance with the rest of the tree's growth, and you should prune them so that they lead to a strong side shoot or riser.
Your pear tree will require additional pruning in the second year after it has been planted. This is something that can be done over the summer. To offer the tree some shade, cut off all of the top shoots that are expanding quickly but let a couple of the smaller ones to continue growing. Leave any shoots that are emerging on the lower branches or coming off the trunk since this is the growth that you want to stimulate and it is the growth that you will benefit from. You want the growth of the lower half of the tree to be more robust than the growth of the upper half of the tree.
You can make more cuts to the height of your pear tree during the winter of the second year, but try to limit them to no more than a foot or two. If you prune the tree any more than this, you may wind up reducing the potential production of your pear crop, and you may even do permanent damage to the tree itself.
Continue to prune the shoots that are emerging from the upper half of the canopy during the subsequent growing season, while encouraging the growth of the shoots that are emerging from the lower half of the canopy. Once more, you should prune the plant so that the new shoots grow outward rather than upward. Again, remove any shoots that are crossing over one another to provide space for additional air and light in the tree.
Continue to prune the upper canopy of the tree the next year, but this time cut back on the number of new shoots you remove to about half of what you did the year before. During the winter that followed, cut the side branches back by approximately one foot, and then proceed to shape your tree in such a way that all of the fruiting branches are evenly spread across the entire tree, from the top canopy to the bottom canopy.
If you want to accomplish this goal, you should cut the side branches back by two feet. Once again, this is dependent on the height of your tree as well as how much of it you plan to cut down. In order to reach your fruit, you might still require the use of a ladder; but, if you are extremely fortunate, the tree might be at a height that enables you to reach it without the use of a ladder.
Maintain a modest pruning schedule for the tree in the years that follow, eliminating some of the top growth that is particularly robust each year and ensuring that the tree does not grow any taller than it was in the final year of severe trimming.
How To Feed Old, Neglected Pear Trees
Old fruit trees that have been neglected typically have grass growing up to the knees around their trunks and are overgrown with weeds. Clear away all of the weeds and grass from beneath the tree up to the point where the branch tips finish. This component is referred to as the drip line.
Now take a garden fork and carefully break up the dirt all the way up to the drip line surrounding the tree. Pay attention to avoid damaging the tree's roots while you do this. The next step is to obtain some well-matured farm manure, place it beneath the tree, and then lightly till it in with a garden fork.
If the soil in your garden is highly acidic, you might need to supplement the manure with some lime. Pear trees should have a pH level between 6.0 and 6.5 for optimal growth. My position is that it is always preferable to preserve older fruit trees rather than plant new ones in their place.
To begin, if you are extremely fortunate, you might discover that the type of pear trees that you have are an heirloom variety. This type of pear tree will produce fruit that has a considerably more robust flavour than the current varieties that are available today.
Second, once you have completed the pruning programme for the first three years, your tree will yield significantly more fruit than any new pear tree that is four years old would.
When To Prune Fruit Trees
Even if you don't prune your fruit trees, they will still produce fruit even if you don't bother to do so. On the other hand, we strongly suggest that you perform annual pruning to enhance the quality of the fruit and develop a robust framework of branches that can handle big fruit loads. If you prune your fruit trees, you may find that the resulting fruit is larger and easier to pick. When the tree is pruned, the garden will be much tidier, and it will take up less room.
We've put up this handy chart to help you determine the best time of year to prune your trees. But if all of this seems a little bit complex or too tough, give us a call and we'll arrange to come and do your pruning for you at the correct times that it should be done. If you give us a call, we'll do it at the right times that it should be done.
Winter Pruning Vs Summer Pruning
In most cases, fruit trees benefit from winter pruning in terms of their growth rate. When the fruit tree is pruned more severely throughout the winter, the growth that occurs during the spring will be more robust. A tree can be trained to take on a specific shape through the use of winter pruning, and it can also be used to stimulate substantial growth. It is advised that newly planted trees undergo pruning during the winter months up until the tree has reached the ideal height and shape.
In most cases, summertime pruning of fruit trees will slow down their rate of growth. The framework that has already been established is preserved. The new growth that emerges after the winter pruning has been tamed and is much less strong than the growth that occurred after the winter pruning. This makes it possible to put more energy into the fruit. When a method of summer pruning has been established, very little winter trimming of the framework is required after that point.
When To Prune Fruit Trees
Apricot trees are the only fruit trees that need to be pruned within a specific time period. Apricot trees should only have their branches pruned when they are actively growing (e.g. spring or summer)
When it comes to other types of fruit trees, the winter pruning season begins in the fall, when the tree first starts to shed its leaves, and continues through the spring, when the flowers start to open up.
The pruning of summer fruit trees can be done either before or after harvesting the fruit. Keep in mind that trimming in the winter encourages rapid development, but pruning in the summer hinders growth.
The winter months are ideal for doing pruning on deciduous fruit trees like apple, pear, and plum trees. Whether or not these trees are pruned, they will provide a good crop of fruit. However, if the trees are allowed to grow too tall, the fruit will be up high and difficult to access. Additionally, when there is insufficient producing wood, the trees are less likely to consistently produce fruit.
Pruning fruit trees in a home garden serves the purpose of assisting the tree in providing reliable quality crops, with nice size fruit on a manageable size tree. This can be accomplished by reducing the size of the tree. However, the trees require attention at this time. When pruning apples, for instance, you should search for a central leader and prune in such a way as to ensure that there are no competing branches.
Take out the trash and clean up the mess inside the tree. We want a framework that is lovely and open, but we don't want there to be too many competing branches since then the fruit won't form properly. Therefore, cut back any branches that intersect or hang low. Keep in mind that the shoot on the end of each tip is known as a terminal, and since this shoot will never produce fruit, you should cut it down to only five or six buds. The branch that emerges from the side of the shoot at an angle of between 30 and 60 degrees and is known as a lateral is another type of branch that can appear.
Maintain the integrity of the lateral branches since they will produce fruiting spurs for the following season. The short, stubby patches of growth, known as fruiting spurs, will eventually turn into apples during this growing season. When you prune, you should cut at an angle and try to cut about a quarter of an inch past a bud. Also, remove any rotting fruit that is still clinging to the tree.
Pears bear fruit on the tiny blooming spurs, much like apples do. However, pears also bear fruit on the tips of lateral branches that are one year old. When pruning, you should limit the size of the terminal and allow these branches to continue bearing fruit for the following year.
It is essential to educate the plum tree into a vase shape before beginning any form of pruning. In order to achieve this, the core of the tree needs to be opened up so that light may enter. The next step is to search for six to nine good and robust branches that have the potential to construct that framework.
When working with Japanese plum, it is important to keep an eye out for anything that could disrupt the natural form of the tree. The next thing on the agenda is to cut down any tall, straggly growth. Because plums bear fruit on fruiting spurs and one-year-old laterals that are middle to late in age, it is essential to prune away any old or dead wood that is obstructing the tree's view in order to stimulate new development. The perfect outcome would be to end up with a sturdy terminal that had gorgeous fruiting spurs that were all set to bear plums for this season.
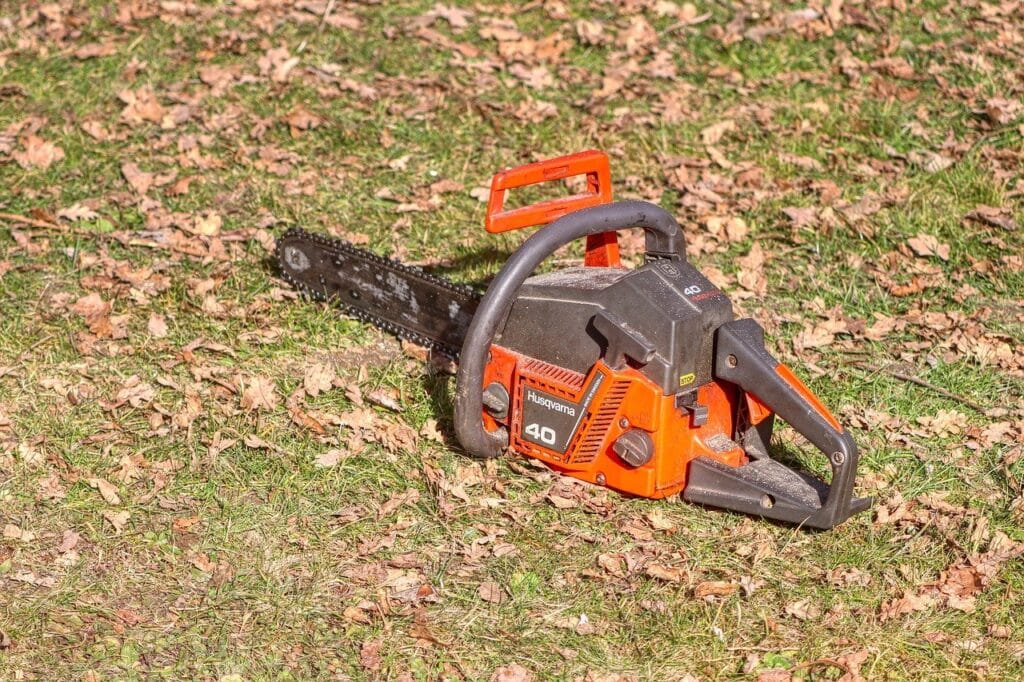
It is also essential to maintain a clean orchard; therefore, once you have finished, you should collect the prunings, throw them away, and remove any old, rotten fruit from the orchard because it may harbour illness.
It is tempting to hibernate indoors where it is warm during the winter months, but making the effort to prune fruit trees will be worth it in the long term. the superiority of the fruit in both.
Frequently Asked Questions
Pear trees are best pruned in early spring before the buds open. This allows the tree to heal more quickly and helps prevent disease spread:
- Remove any dead or damaged branches.
- Thin out the canopy to allow light and air to reach the centre of the tree.
- Cut back any straggling branches.
Be sure to make clean cuts just above a bud facing in the desired direction of growth. With proper care, pear trees will produce delicious fruit for many years.
Pruning an overgrown pear tree can seem like a daunting task, but with a little patience and the right tools, it can be easily accomplished. The first step is to remove any dead or diseased branches. Their dry, brittle appearance can identify these. Next, cut back any branches that are rubbing against each other or crossing over each other.
This will help to promote air circulation and prevent the spread of disease. Finally, prune any branches growing inwards towards the tree's centre. This will encourage the tree to grow outward, creating a more balanced shape. With a little effort, an overgrown pear tree can be transformed into a healthy and beautiful specimen.
Pruning a pear tree is an important part of maintaining a healthy tree. However, it's important to know when to prune the tree in order to avoid damaging it. The best time to prune a pear tree is in late winter or early spring before the tree begins to produce new growth.
This will allow the tree to heal quickly and promote new growth. It's also important to prune any dead or diseased branches as soon as possible to prevent the spread of disease. With proper care and regular pruning, a pear tree can provide years of fruits and enjoyment.
For best results, you should prune your pear tree every year. This will help to encourage new growth and keep the tree healthy. However, you may need additional pruning if the tree becomes overgrown.
When pruning, it would be best if you always cut back to a healthy bud or branch. Cut at a 45-degree angle, just above the bud. This will help to encourage new growth. You can also remove any dead or damaged branches. Finally, don't be afraid to thin out the tree if it is becoming too crowded. This will improve air circulation and allow more light to reach the fruit.
When pruning an old pear tree, the answer is not a simple yes or no. The answer depends on a number of factors, including the age and health of the tree, the type of pear tree, and the time of year. If the tree is over 30 years old, has extensive damage, or is diseased, it may be best to remove the tree altogether. However, if the tree is healthy and not too large, pruning can help rejuvenate it.
For pear trees that produce fruit, pruning should be done in late winter or early spring. This will give the tree time to heal before producing new fruit. Pruning can be done in late spring or early summer for ornamental pear trees. It is important to avoid over-pruning with any type of pear tree, as this can damage the tree. When in doubt, it is always best to consult a certified arborist before deciding to prune an old pear tree.
Late winter
- Apple, pear (always lightly), peach, nectarine, cherry, and plum trees are examples of deciduous fruit trees that should be pruned in the winter.
- Raspberries that bear their fruit in the fall (primocanes) need to have their canes pruned in the late winter to within a few centimetres of the ground. Additionally, you should prune any hybrid blackberries or raspberries that were recently planted.
- After the harvest has been completed, ideally at the end of the winter, blueberry bushes should have their branches pruned.
Spring
- Performing pruning on citrous trees by removing any diseased or dead wood during this process. Also, remove any branches that have crossed and are causing friction by cutting them.
- To improve the quality and size of the fruit that is left on early-season stone (like apricots, plums, and peaches) and pome (like apples and pears) fruit trees, remove some of the smaller fruits that have formed.
- Midway through the spring is the best time to prune passionfruit vines.
Summer
- Continue to remove underdeveloped fruit from late-season deciduous fruit varieties until the early summer months.
- After harvesting has been completed in the late summer, conduct summer pruning on deciduous fruit trees.
- Raspberry canes (sometimes called floricanes) that have entirely completed producing fruit should have their fruit cut off.
Autumn
- It is recommended that summer trimming of deciduous pome and stone fruit trees be finished by the beginning of autumn. If you're looking for tree removal services, you’re in the right place! Check Tree Amigos!
- Blackberry hybrids that have already produced fruit should have their shoots pruned back.
Other
- After fruiting, banana trees are pruned to the ground so that new growth can emerge. Some varieties of bananas can even be grown in Melbourne. Each plant will be succeeded by a new plant that emerges from a sucker.
- Almost immediately after harvesting, avocado trees are given a minor trimming. Each year, prune the tree so that just one side or the top is exposed. To get the most out of each year's harvest, switch up the area of the tree you prune.